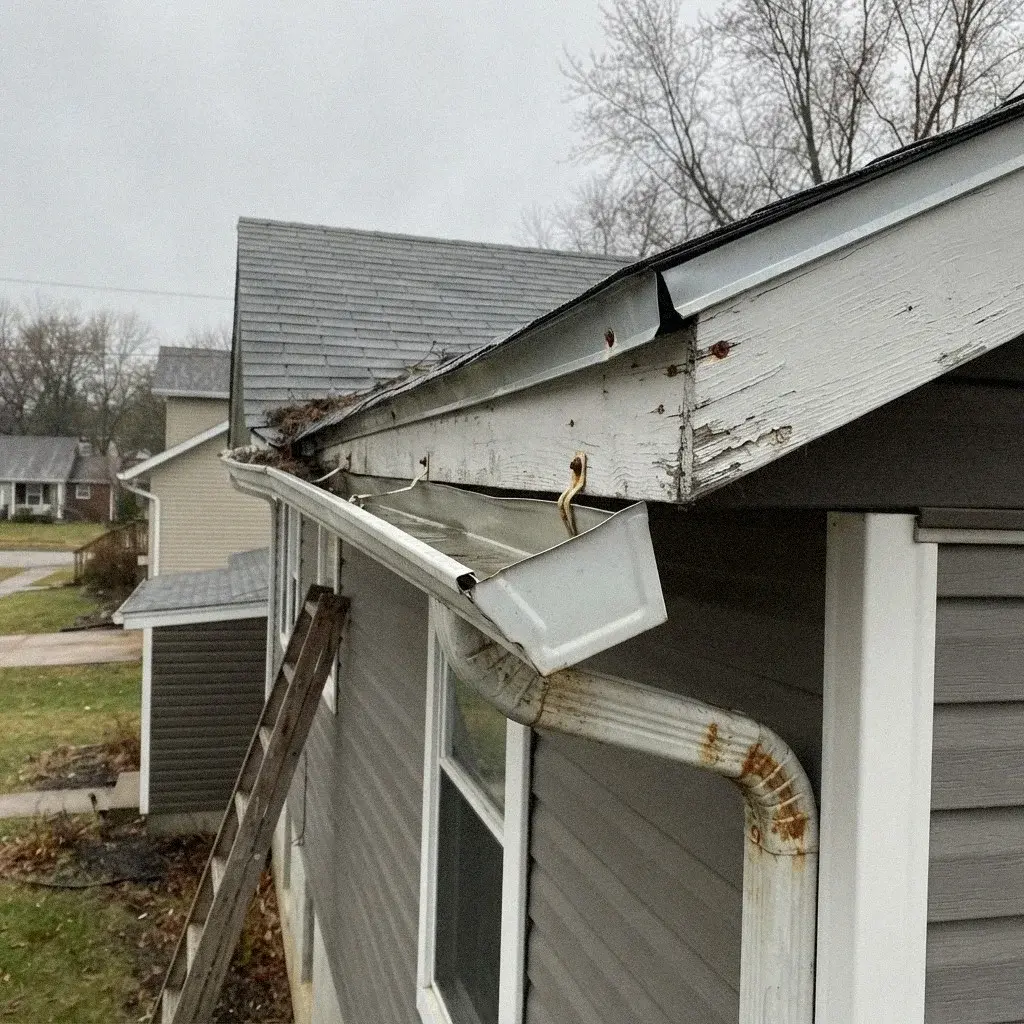
Leaks After Rain
Why can dripping continue after a storm ends? Learn how water held in roof layers affects timing, what to track, and when recurring drops call for inspection.
Read article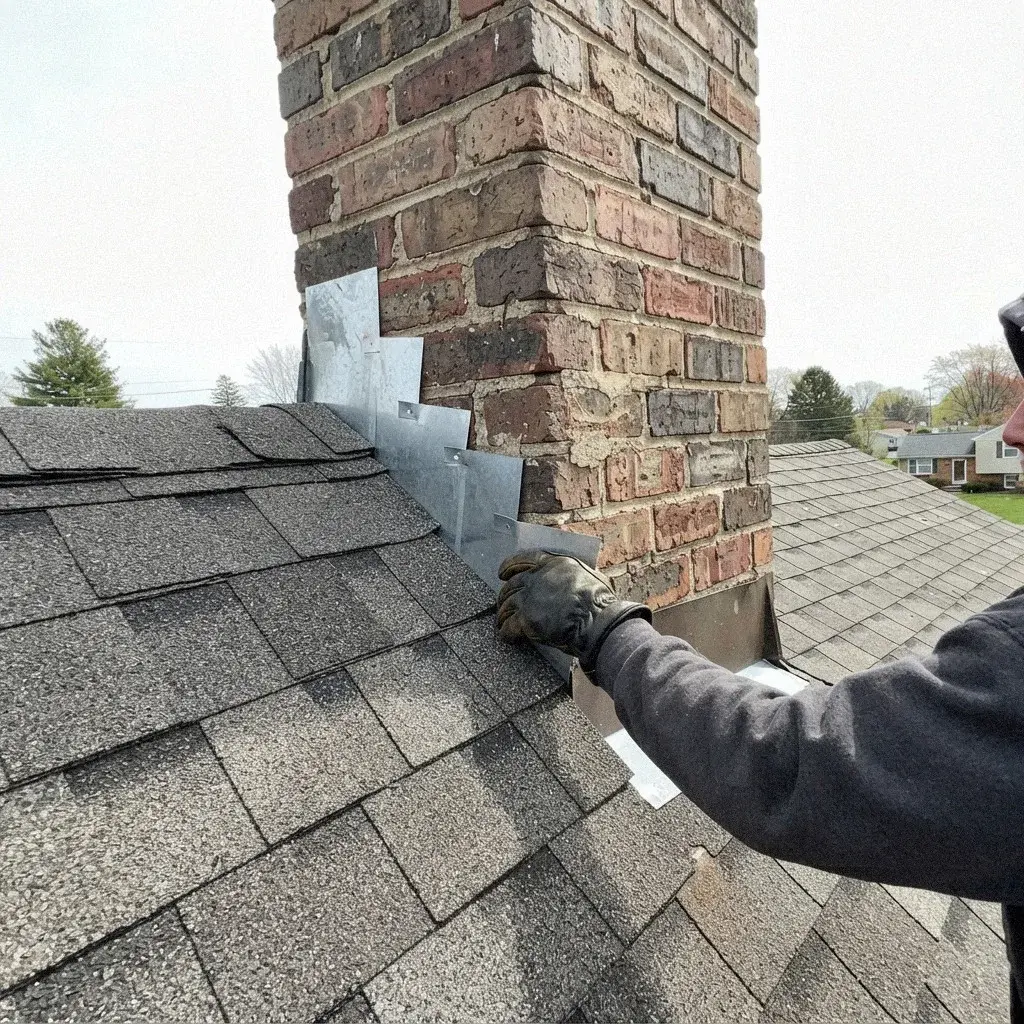
Check the metal overlaps and masonry where the roof meets the chimney
Start with the indoor mark: note which side of the chimney it is near and whether it appears on a ceiling, upper wall, or attic surface. Then, from the ground, look for a visible change in the shingles or metal around the chimney base. Record whether the mark is dry or still damp when you inspect it. A chimney roof leak can follow a concealed route before showing indoors, so the inspection needs to compare the room evidence with the roof junction.
The roofer next checks the uphill corners, where water approaches the chimney, then follows the metal down each side. Step flashing should work with the shingle courses; counterflashing covers the upper edge set into the masonry. The roofer also checks whether mortar can hold that edge and whether nearby shingles can be lifted and reset. Access, the length of affected metal, and masonry condition shape the scope, time, and cost. The proposal should say whether the repair involves resetting metal, repairing its attachments, or addressing the masonry edge.
Water can soak attic insulation and framing before a ceiling stain appears, leaving hidden moisture above the room. Location pages identify their areas; elsewhere, the same referral connects you.
Start at residential roof leak repair service when the roof protects your household, and choose commercial roof leak repair when your role is managing a rental or business property.
Record where moisture shows indoors in relation to the chimney: beside the chimney breast, at a ceiling edge, or on an upper wall. If you can see the attic safely, note whether dampness appears near the chimney opening. Note whether the damp area is confined to one spot or extends along the attic surface. Share the location with the roofer so the roof inspection can start at the corresponding chimney face and corners.
From a safe ground-level view, check whether shingles beside the chimney appear raised, curled, or out of line with the surrounding courses. A metal edge that looks bent or no longer lies close to the roof surface is another detail to report. These observations do not establish the cause, but they help the roofer choose which side and transition to examine first. A photo can preserve the visible details for comparison with the roofer’s findings.
Look for open mortar joints or missing material where the upper metal edge enters the chimney. Counterflashing depends on a secure masonry attachment; deteriorated mortar may leave the edge loose even when the lower flashing is present. Note visible gaps or crumbling from the ground and mention them during the assessment. The roofer can determine whether the flashing connection can be repaired as planned or whether the masonry needs attention first.
You note when the moisture first appeared and whether it has changed; the roofer considers that history alongside the roof evidence.
The roofer follows the shingle courses around the chimney, checking step flashing, upper metal attachment, and mortar for gaps or movement.
The roofer then checks that the restored flashing and shingle layers guide water past the chimney.
The roofer checks the repaired overlaps and attachment, then records the completed work and any remaining concerns for you.
A sound chimney connection helps keep water outside where the roof covering meets the masonry. Step flashing meets the shingle courses, while counterflashing protects the upper connection at the masonry. If either edge loosens or mortar breaks away, water can pass behind the visible metal and follow the roof structure before appearing inside. Repairing the junction means finding which connection has failed and restoring the layers that guide water past it.
Flashing details must suit both the roof covering and the chimney’s masonry. The roofer should explain how the step pieces fit with the shingle courses and how the counterflashing covers their upper edge, including any repair needed at the mortar joint. Ask what materials and junction details the proposed work addresses. This makes the scope understandable across different roof and chimney constructions without assuming one detail fits every house.
Note whether moisture appears beside an uphill corner, along a chimney side, or below the roofline inside; those positions can help a roofer trace which part of the junction needs attention. On the roof, the inspection follows the step flashing beneath the shingle edges and the counterflashing that shields it from runoff, including corners where water can turn. A gap where the flashing meets masonry can let water slip behind the shingles even when the visible metal looks intact.
Chimney Flashing Repair ranges are planning estimates; the entry point and repair approach shape cost. Review inspection evidence, any assessment fee, and documented work terms with the contractor.
| Leak Origin | Repair Method | Quote Basis |
|---|---|---|
| Leak patch | One defective fitting fixed; intact roof materials receive no service | an estimated $350–$900 |
| Component repair | Repair the diagnosed water entry; additional leak locations are not covered | an estimated $400–$1,170 |
| Multi-section repair | Seal a limited roofing issue; extensive affected sections fall outside scope | an estimated $350–$900 |
| Complete reroof | Renew one aged roof component; serviceable neighboring pieces are excluded | an estimated $840–$3,600 |
Moisture can also affect material around a leak, so checking for dampness helps show how far the problem has spread. Tracing that route can require checking both attic evidence and roof materials, which changes the inspection work involved. The pricing guide explains how diagnostic scope fits into repair costs.
A roofer examines the chimney corners, shingle edges, step flashing, and counterflashing to find where the junction is open. If the metal remains sound, the affected pieces may be reset and secured. If it is bent, corroded, or poorly fitted, the roofer may renew that section. The work can also require attention to the mortar that holds the upper edge. The recommended scope should identify the affected side and components.
Step flashing consists of separate metal pieces fitted alongside the chimney and integrated with the shingle courses. Counterflashing covers the top of those pieces where they meet the masonry, helping keep water from reaching the joint. Both layers need to overlap in a way that sheds water downward. A roofer checks their position and attachment together, since sound-looking metal at one edge may still leave a gap at another.
A roofer can open the roofing beside the chimney to reach damaged metal without treating the whole roof as the repair. The roofer fits step flashing between shingle courses, then places counterflashing over its upper edge so runoff returns to the roof surface. At each corner, adjoining pieces must overlap in the direction water flows. After closing the area, the roofer checks that the shingle edges and flashing form a continuous path around the chimney.
A ceiling mark near a chimney is a clue, not confirmation that flashing is the entry point. The roofer compares its position with the attic and the chimney’s roof junction, then examines the relevant corners and metal overlaps. Water can move along roof materials before reaching the room, so the inspection should explain what evidence links the stain to the flashing and what remains uncertain.
Time and cost depend on how much flashing must be exposed, whether nearby shingles can be reused, and whether the masonry will hold the counterflashing. Safe access and roof conditions also affect scheduling. Ask the roofer to describe the area being opened, the components to be repaired or renewed, and any conditions that could change the scope after inspection.
A focused chimney flashing repair may fit when the defect is confined to that junction and nearby roofing remains serviceable. The roofer should note whether other roof areas show wear that changes the repair scope. If the roof’s broader condition raises questions about replacement, that decision belongs on the roof replacement page; this page addresses water entry and repair at the chimney connection.
$350–$900 for this work gives you a budget range for chimney flashing repair. The covering and repair area influence the quote, and the pros we connect you with can verify the leak location and confirm the cost after inspection.
Review the material here to know what topics may come up in an initial conversation.
Why can dripping continue after a storm ends? Learn how water held in roof layers affects timing, what to track, and when recurring drops call for inspection.
Read article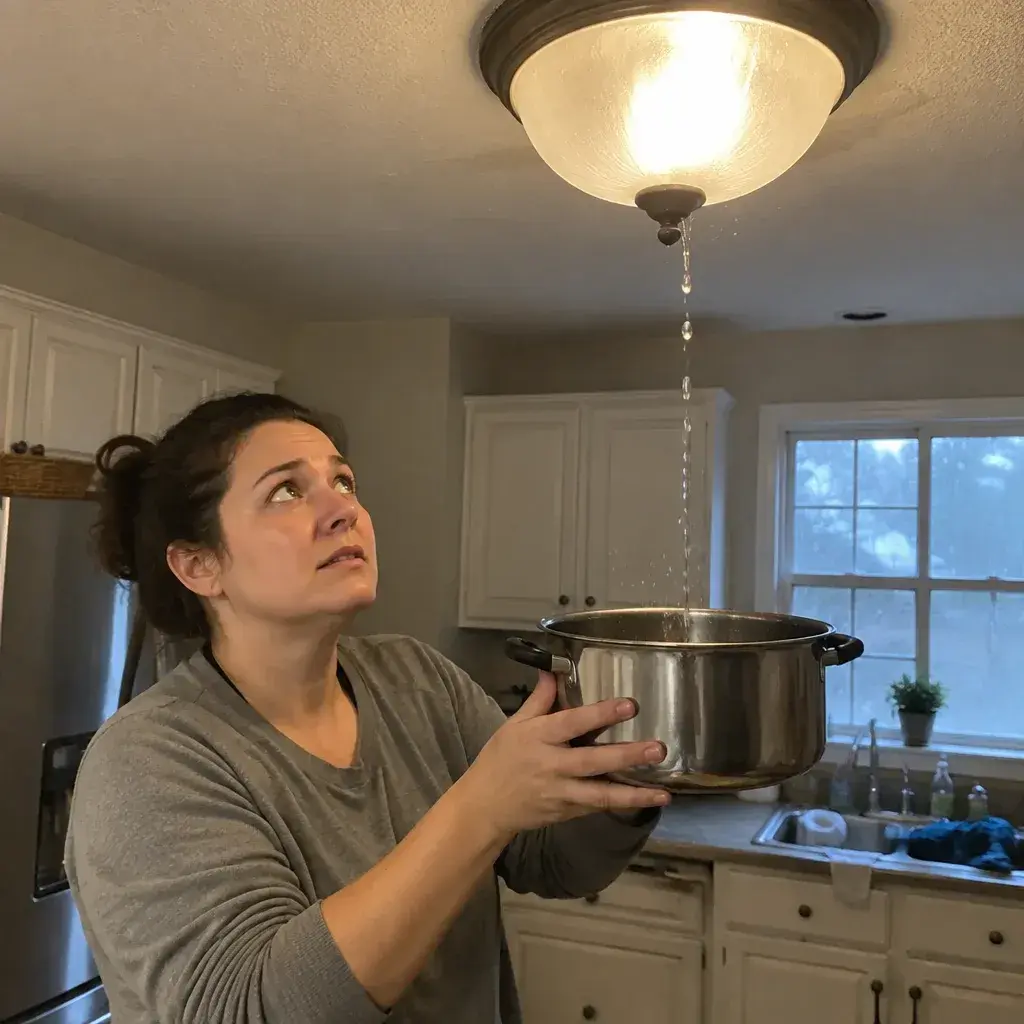
Why can a roof leak only during heavy rain? Learn how runoff, roof openings, and storm timing can explain the pattern and help guide a professional assessment.
Read article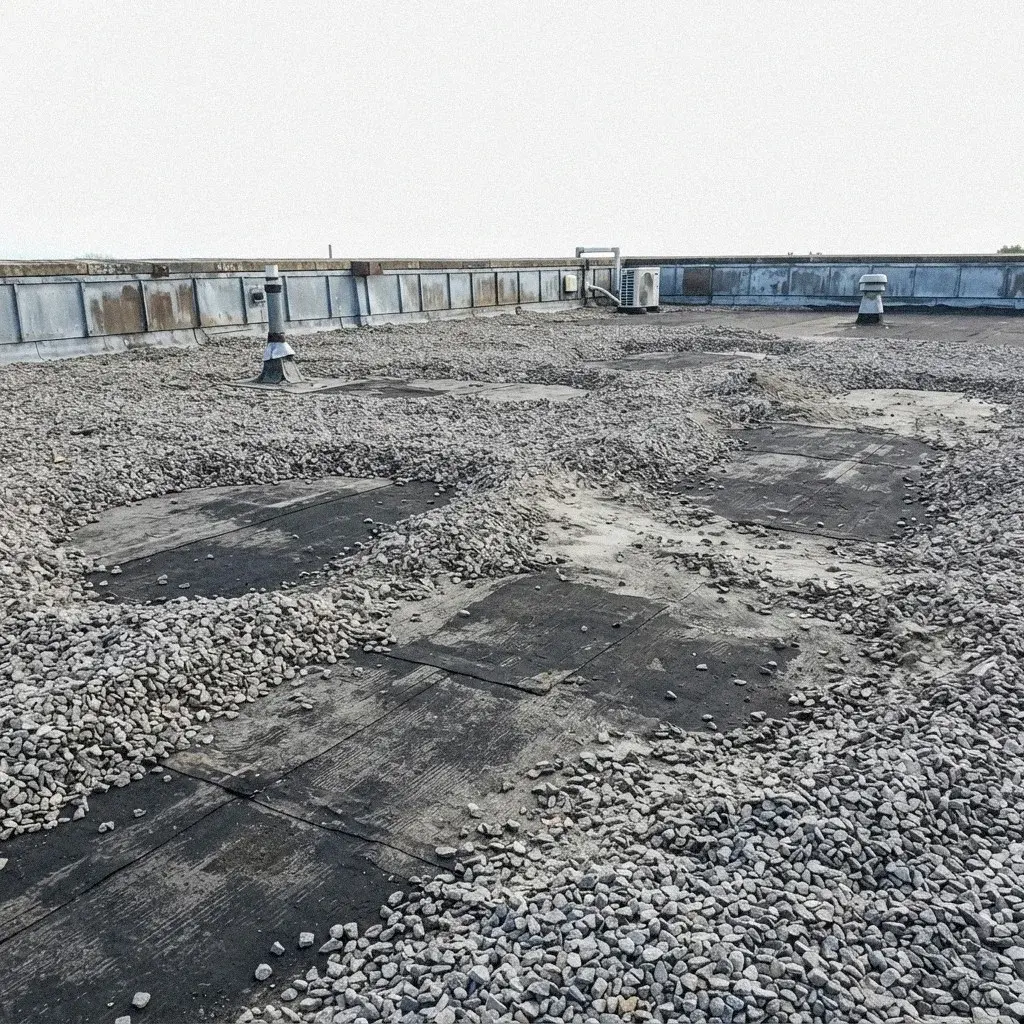
Rain pushed sideways can reach roof openings that remain dry in calmer conditions. Learn how wind direction, roof clues, and leak timing help guide an inspection.
Read articleKeep notes on when the leak appears and how it changes. Tell them the roof type and where water appears inside, since the indoor spot may not match the roof entry. Ask about scheduling and any inspection fee. If repair is proposed, request a written account of the work, clarify separate charges, and review the warranty terms before deciding how to proceed.
Call (855) 768-9249