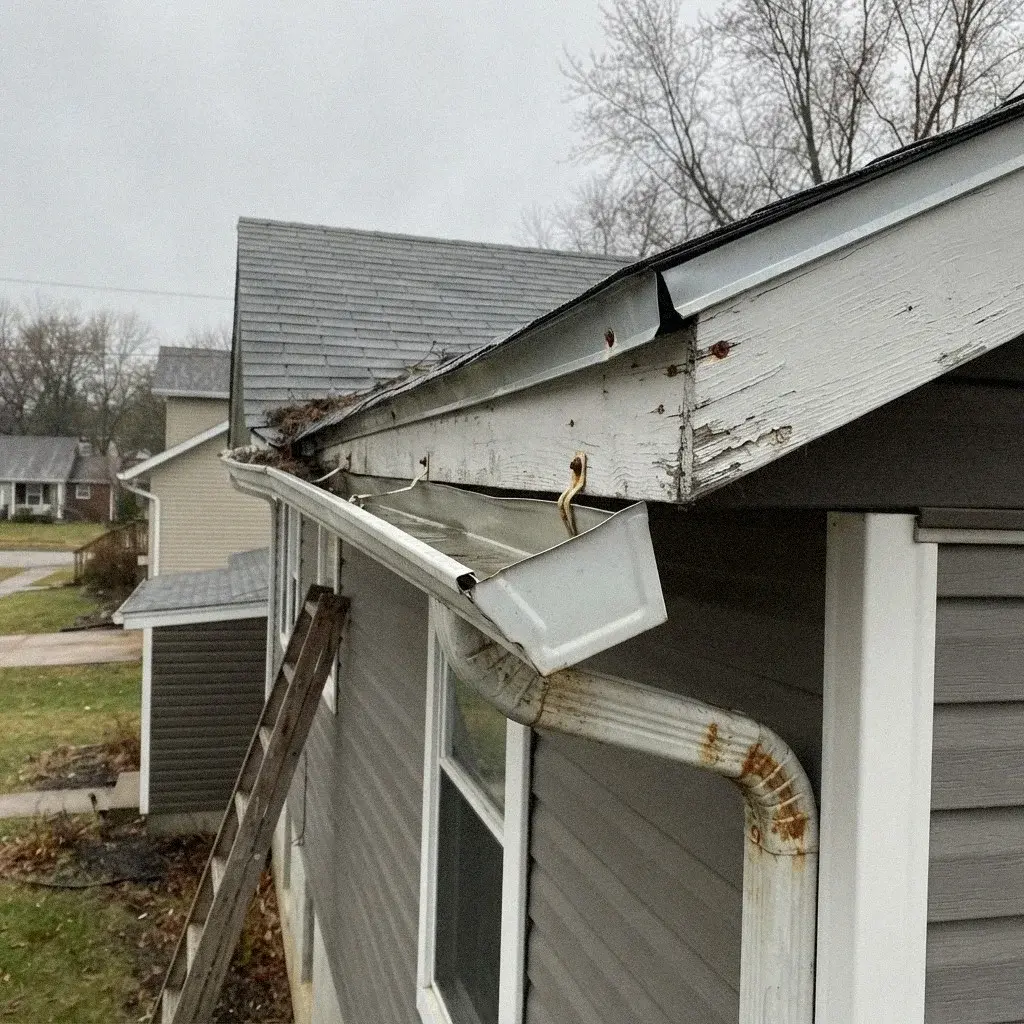
Leaks After Rain
Why can dripping continue after a storm ends? Learn how water held in roof layers affects timing, what to track, and when recurring drops call for inspection.
Read article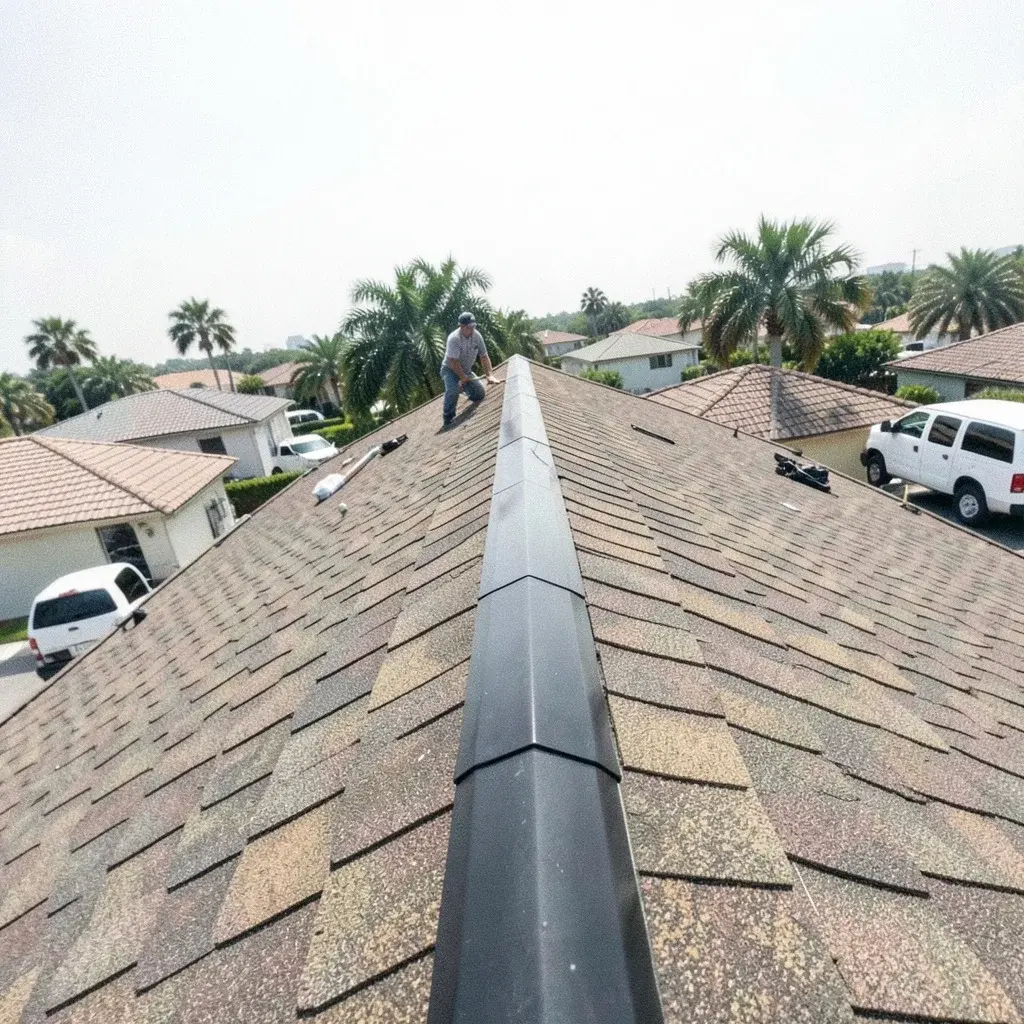
Temporary cover options, safer indoor steps, and a plan for follow-up repair
An active roof leak can disrupt a ranch, split-level, or subdivision home before a roofer can make a permanent repair. First move belongings away from dripping water and catch it indoors if the floor and container can be reached safely. Then contact a local pro about temporary protection. The site has location pages for some service areas; in other covered areas, the same referral connects you with pros. A temporary measure is intended to limit further exposure while the repair is planned, and it has limits.
An active leak can keep wetting a room while a lasting repair is being arranged, so the first checks concern safe access and what can be protected now. A roofer assesses whether the roof can be approached safely, then considers its surface and layout before choosing a temporary cover or water diversion. Those checks help set the size and placement of the short-term measure and the time needed to put it in place. It reduces immediate exposure; it does not complete the repair.
Water can soak attic insulation and framing before a ceiling stain appears, leaving hidden moisture above the room. Location pages identify their areas; elsewhere, the same referral connects you.
Choose the page by the building's use: commercial roof leak repair addresses roofs over business or rental space, while residential roof leak repair service is for a home you occupy.
A roof leak may show up as a spreading ceiling stain, peeling paint, or damp insulation before dripping begins. Move furniture and belongings from the drip path, and catch water only if you can place a container on a stable floor without entering a hazardous area. Photos of the ceiling and affected items can help preserve a record. Do not climb up to investigate; share what you observed with the roofer so the visit can address immediate protection needs.
A ceiling that sags or bulges may have water gathered above it. Keep people clear of the area, and do not press, cut, or puncture the ceiling; releasing water or weakening the surface can create another hazard. Tell the roofer about any change in its shape, new cracking, or falling material when arranging the visit. Temporary roof protection may reduce additional exposure, but it does not make a compromised ceiling safe or remove water already inside.
Keep a simple record as the leak develops: note when water first appears, how long it continues, and whether conditions change during rain. Photograph interior staining from a dry, safe position, and keep the images with your notes. This gives the roofer a clearer account of what happened while temporary protection is being arranged, especially if the situation changes before permanent work can be scheduled. Do not use an indoor record as a reason to climb onto a wet or steep roof.
The roofer asks which rooms are affected and checks for immediate indoor hazards so the visit can account for safe access and belongings at risk.
From a safe position, the roofer assesses roof access, pitch, and surface condition to determine whether temporary work can be secured safely.
The roofer identifies the area a tarp or diversion can protect, then explains the materials, estimate, and limits before starting.
The roofer checks whether the temporary measure is working, records visible conditions, and discusses follow-up for permanent repair.
A temporary cover has to stay secured against the roof surface while directing water away from the exposed area. Roof pitch, material, edges, and nearby features affect how that setup can be placed; wind and rain can also change its performance. On a ranch or split-level, access and roof height may differ even within the same subdivision. Knowing the setup’s limits helps you protect indoor belongings and recognize when conditions need another roofer visit.
Temporary protection and permanent roof repair may be handled as separate work, with different scopes and timing. Ask the roofer to describe the short-term setup in writing, including the section it covers, materials used, limits, and expected follow-up. Keep that record with photos of visible interior conditions. This helps you understand what was done while the repair plan is being arranged, without treating a temporary cover as a completed repair.
Rules for roof work and contractor requirements differ by jurisdiction, so the national referral does not establish what applies at your address. Ask the pro you speak with whether local requirements affect access, temporary materials, or later repair work. The written estimate should identify the temporary service, its charge terms, and any conditions that could change the work. Keep the permanent repair scope separate so you can see what still needs attention after the immediate protection is in place.
Use Emergency Leak Protection ranges as a starting estimate. Cost shifts with the leak location and remedy; get the contractor’s inspection explanation, any assessment charge, and included work in writing.
| Inspection Notes | Repair Details | Estimate Terms |
|---|---|---|
| Point fix | Repair one failed roof part; surrounding sound coverage remains untouched | an estimated $175–$650 |
| Assembly repair | Trace and address one roof opening; separate water sources need added scope | an estimated $200–$845 |
| Wide-scope repair | Localized minor fault addressed while any spreading deterioration remains separate | an estimated $175–$650 |
| Full roof installation | Replace or mend one deteriorated piece; sound sections are not included | an estimated $420–$2,600 |
Begin with the repair area named in the estimate, then note any extra tasks added to the work. A longer-lasting replacement part can also change the total. The full pricing guide explains how repair scope and material choices affect cost, so review it alongside the written proposal.
Temporary protection is intended to limit additional water entry while permanent repairs are planned. The choice depends on roof pitch, surface, and what can be anchored without causing added damage. Ask which area the setup covers and what follow-up is planned. Permanent repair remains a separate step.
No. Wind may shift a cover, water can get around its edges, and moisture already inside the roof or ceiling may continue to appear indoors. Ask the roofer how the temporary setup is secured and what signs mean it needs attention. Keep monitoring the affected room from a safe position and report changes promptly.
If it is safe to reach them, move belongings out of the drip path and place a container on a stable floor to catch water. Avoid standing beneath a sagging ceiling or approaching wet electrical fixtures. If the area is unsafe, keep people away and tell the roofer what is happening so the visit can account for it.
A roofer can use a temporary cover or water diversion to limit further water entry while permanent work is planned. The roofer should explain which section the measure addresses, its limits, and what follow-up is needed. You can move belongings from the drip area, catch water indoors if safe, and record when the leak appeared and any changes. If a ceiling begins to sag or bulge, keep people clear because trapped water can make it unstable.
The estimate can depend on roof height and pitch, surface material, safe access, the area to cover, and whether water can be redirected. Ask whether water diversion depends on keeping a clear path for drainage. No single setup fits every roof.
There is no fixed duration that applies to every temporary setup. Its usefulness depends on how it is secured, the roof surface, and changing weather. Ask how often the roofer recommends checking it and what to do if it loosens, water appears elsewhere, or the indoor condition worsens. Arrange permanent repair as the follow-up.
Plan around $175–$650 per visit for emergency leak protection until the roof is checked. Material, the path water takes, and repair scope can change the total; the pros we connect you with confirm it after inspection.
Build a working picture of roof leak repair before discussing your situation with a roofer.
Why can dripping continue after a storm ends? Learn how water held in roof layers affects timing, what to track, and when recurring drops call for inspection.
Read article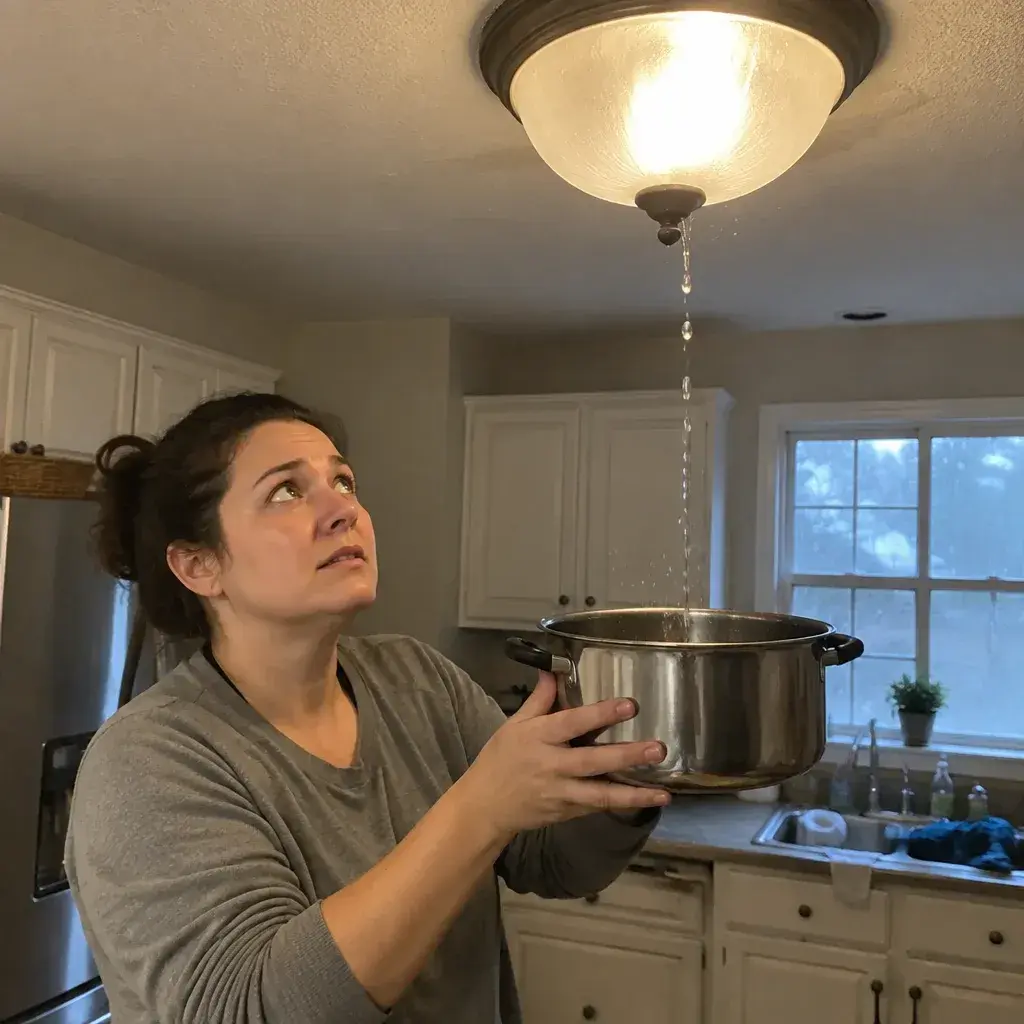
Why can a roof leak only during heavy rain? Learn how runoff, roof openings, and storm timing can explain the pattern and help guide a professional assessment.
Read article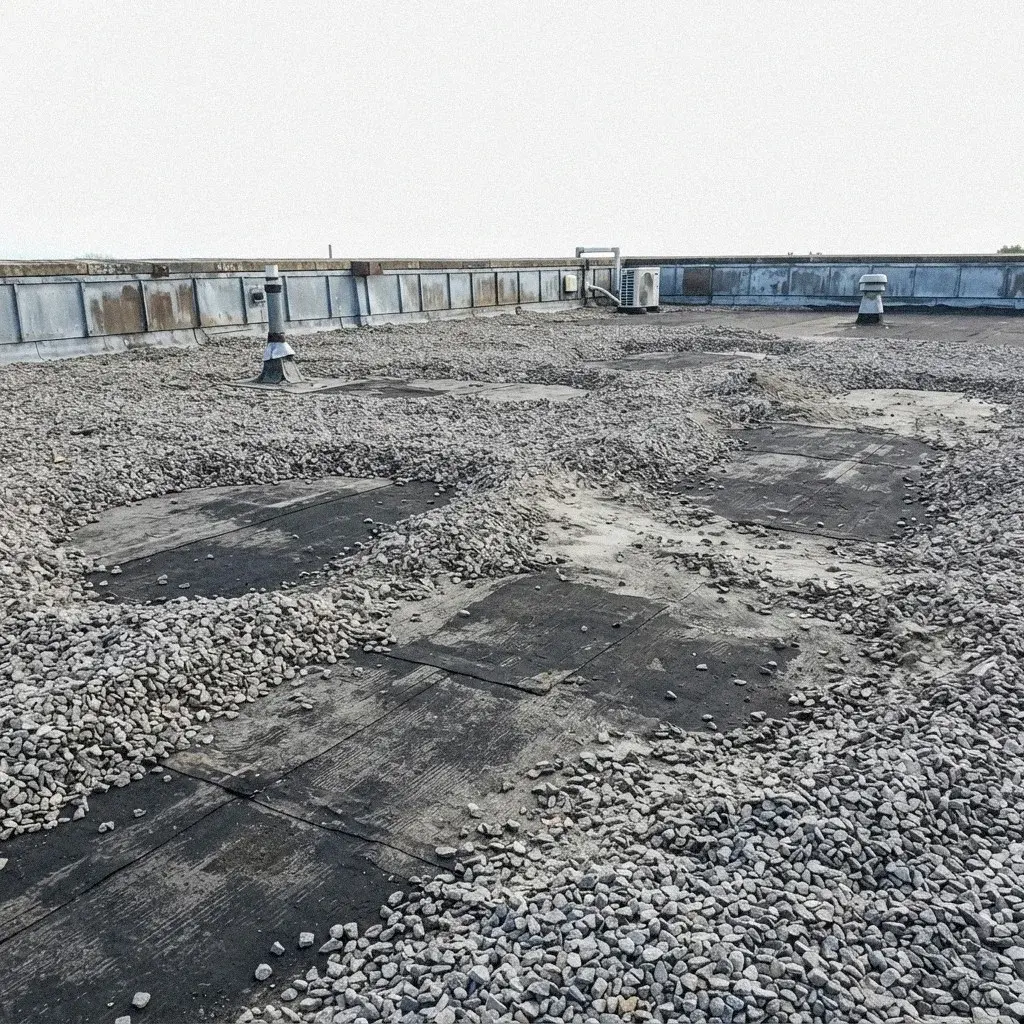
Rain pushed sideways can reach roof openings that remain dry in calmer conditions. Learn how wind direction, roof clues, and leak timing help guide an inspection.
Read articleKeep notes on when the leak appears and how it changes. Tell them the roof type and where water appears inside, since the indoor spot may not match the roof entry. Ask about scheduling and any inspection fee. If repair is proposed, request a written account of the work, clarify separate charges, and review the warranty terms before deciding how to proceed.
Call (855) 768-9249